The Elf on the Shelf: A Comprehensive Guide
Dive into the enchanting world of The Elf on the Shelf! Explore festive songs, ideas, and the new preschool series, Scout Elf Squad, celebrating a beloved tradition.
Discover exclusive bundles, activities, accessories, and 20th-anniversary collectibles, all designed to enhance the magic of Santa’s official Scout Elves during the holidays.
Origins and History of The Elf on the Shelf
The heartwarming tale of The Elf on the Shelf began as a cherished family tradition, lovingly crafted by Chanda A. Bell and her family in 2005. Inspired by her own childhood experiences, Chanda sought to share the magic of Christmas with a new generation, resulting in a delightful story and accompanying Scout Elf.
Initially self-published, the book quickly gained popularity through word-of-mouth and a growing online presence. The concept resonated with families eager to embrace a unique way to connect with the spirit of the season. The story, often available as a downloadable elf on the shelf story pdf, details the role of these special Scout Elves.
These elves are sent from the North Pole to observe children’s behavior and report back to Santa each night. The tradition’s success led to the creation of a full-fledged brand, encompassing various products and experiences, all rooted in the original, enchanting narrative.
The Story Behind the Tradition
At the heart of The Elf on the Shelf lies a captivating narrative about Scout Elves, dispatched from Santa’s workshop to homes worldwide. These aren’t just any toys; they possess a special magic, observing children by day and returning to the North Pole each night to report on their deeds to Santa Claus.
The core of the tradition centers around the idea that the elves’ presence encourages good behavior. Families often seek out a digital copy, searching for an elf on the shelf story pdf, to fully understand the rules and lore surrounding these magical observers. The story emphasizes the importance of believing in the spirit of Christmas.
The elves are intentionally mischievous, often found in playful poses around the house, adding an element of fun and anticipation to the holiday season. This delightful story has become a cornerstone of many families’ Christmas celebrations, fostering joy and wonder;
The Creators: Chanda A. Bell and Her Family
The Elf on the Shelf originated from a cherished family tradition created by Chanda A. Bell, along with her mother and sister. Inspired by their own childhood experiences with an elf named Fisbee, they sought to share this magical practice with others. The story began as a self-published book in 2005, quickly gaining popularity through word-of-mouth and a growing online presence.
The Bell family’s dedication to preserving the wonder of Christmas is evident in every aspect of the tradition. Many families now search for an elf on the shelf story pdf to learn the complete backstory and rules. Their vision transformed a personal experience into a global phenomenon, captivating hearts and homes during the holiday season.

Chanda A. Bell continues to oversee the expansion of the Elf on the Shelf universe, ensuring the magic endures for generations to come.
Understanding the Elf on the Shelf Tradition
Delve into the enchanting rules and roles! Discover the Scout Elf’s mission, reporting to Santa, and find the elf on the shelf story pdf.
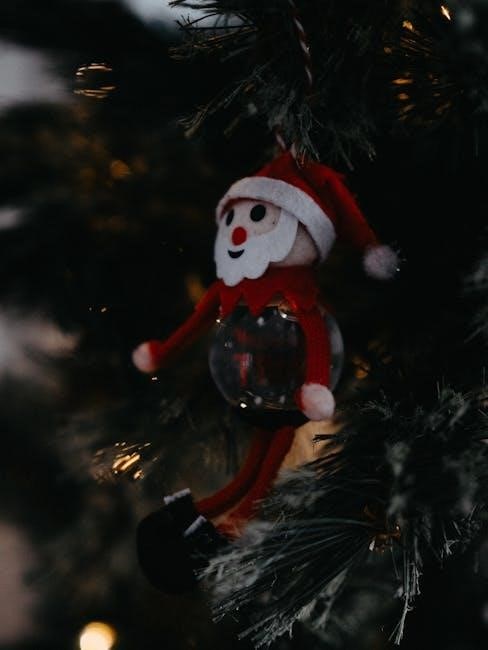
The Role of the Scout Elf
Scout Elves hold a vital position in the Christmas magic! These special representatives of Santa Claus journey from the North Pole to individual homes, observing children’s behavior during the Advent season.
Their primary duty is to report back to Santa each night, detailing whether children are being naughty or nice. However, the Scout Elf’s role extends beyond mere observation; they also serve as a cheerful reminder of the spirit of Christmas.
Families can find the elf on the shelf story pdf to learn more about their origins and purpose. It’s crucial to remember that Scout Elves cannot be touched, or their magic will diminish! They return to the North Pole until the next Christmas season, eagerly awaiting their next assignment.
They are the eyes and ears of Santa, ensuring Christmas cheer prevails.
How the Elf Reports to Santa
Each night, a remarkable journey unfolds! After children are asleep, the Scout Elf magically returns to the North Pole to deliver a detailed report directly to Santa Claus. This isn’t a simple letter; it’s a special connection fueled by Christmas magic.
The elf on the shelf story pdf explains this nightly ritual, emphasizing the importance of the Scout Elf’s observations. Santa relies on these reports to create his “Nice List” and determine which gifts each child will receive.
The elves travel on a flurry of snowflakes, ensuring a swift and discreet return trip. They share insights into children’s behavior, kindness, and overall Christmas spirit. This magical communication loop is central to the tradition, reinforcing the idea that Santa is always watching – and encouraging good deeds!
It’s a heartwarming connection between homes and the North Pole;
Rules for Believing Families
Maintaining the magic requires a few simple, yet crucial, rules! The elf on the shelf story pdf clearly outlines these guidelines for families embracing the tradition. First and foremost, children must never touch the Scout Elf, as this will diminish its magic.
Secondly, the elf cannot be moved by anyone other than Santa’s magic. This ensures the elf’s nightly journey to the North Pole remains intact. These rules aren’t meant to be restrictive, but rather to protect the enchantment and wonder of the season.
Belief is paramount; the more a family embraces the spirit of the tradition, the stronger the elf’s magic becomes. Following these guidelines fosters a sense of shared joy and anticipation, creating lasting Christmas memories for everyone involved.
It’s all about believing!
Elf on the Shelf Products & Merchandise
Explore a delightful range of Elf on the Shelf offerings! From the classic blue-eyed and brown-eyed elves to Elf Mates and pets, discover festive accessories.
The Original Elf on the Shelf: Blue-Eyed vs. Brown-Eyed
The Elf on the Shelf initially launched with a choice: a blue-eyed boy elf or a brown-eyed girl elf, allowing families to select a Scout Elf that resonated with their preferences.
Both versions, readily available on Amazon.com (identified by ISBN 0814854010197 for the blue-eyed boy), fulfill the same crucial role – acting as Santa’s eyes and ears, reporting on the day’s events. The distinction lies purely in their appearance, offering a personalized touch to the tradition.
The choice between blue and brown eyes doesn’t impact the elf’s magical abilities or the core tenets of the Elf on the Shelf experience. Families often choose based on aesthetic preference or to match the children in their household, fostering a stronger connection with their Scout Elf. Regardless of eye color, each elf embodies the spirit of Christmas and the importance of believing!
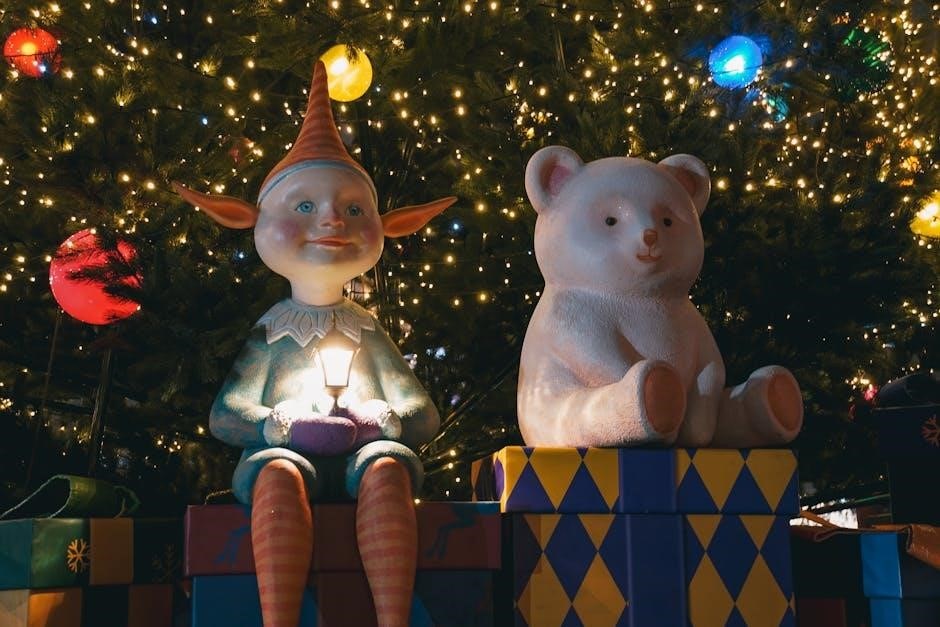
Elf Mates and Elf Pets
Expanding the Elf on the Shelf universe, the introduction of Elf Mates and Elf Pets brought additional magical companions into homes during the Christmas season. Elf Mates are adorable elf animal friends, offering a playful extension to the Scout Elf’s adventures.
Elf Pets, including Arctic Foxes, Saint Bernards, and Reindeer, each come with their own unique story and a special adoption certificate. These pets aren’t simply toys; they represent acts of kindness and caring, reinforcing the spirit of giving during the holidays.
These additions provide opportunities for children to engage in imaginative play and learn valuable lessons about compassion and responsibility. They complement the core Elf on the Shelf tradition, enriching the overall Christmas experience and fostering a deeper connection to the magic of the season.
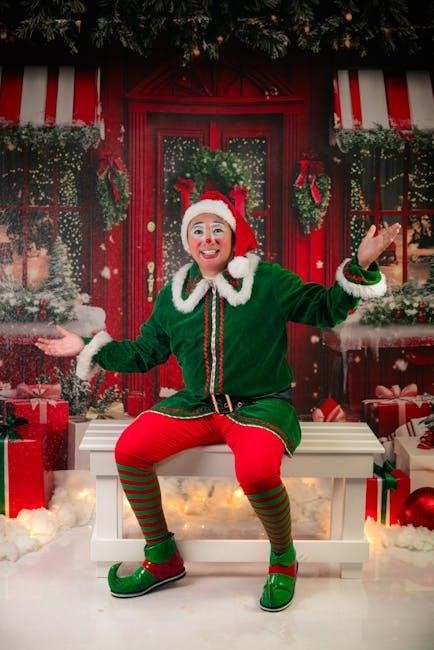
Clothing and Accessories for Your Elf
Elevate your Scout Elf’s adventures with a delightful array of clothing and accessories! From festive pajamas and cozy winter coats to charming outfits reflecting various hobbies, there’s a style to suit every elf’s personality and mischievous plan.
Accessories add an extra layer of fun, including miniature props like snowboards, musical instruments, and even tiny food items for playful scenes. These details enhance the elf’s storytelling potential, creating more elaborate and engaging displays for children to discover each morning.
These additions aren’t just about aesthetics; they encourage creativity and imagination, allowing families to personalize their Elf on the Shelf tradition. They transform the elf into a dynamic character, making the Christmas season even more magical and memorable.

Finding Elf on the Shelf Resources
Explore official websites, Amazon, and retailers for Elf on the Shelf products! Discover exclusive bundles, books, and games to enhance your holiday experience.
Official Elf on the Shelf Website
Welcome to the heart of the Scout Elf experience! The official Elf on the Shelf website serves as the premier destination for everything related to this cherished Christmas tradition. Here, families can delve deeper into the lore, discovering the complete story of the Scout Elves and their vital mission to Santa Claus.
The website offers a wealth of resources, including detailed information about the Elf’s role, rules for believing families, and a vibrant community forum where parents share creative ideas and experiences. You’ll find downloadable activities, printable letters to Santa, and exclusive content not available anywhere else.
Furthermore, the site is the go-to place for purchasing the original Elf on the Shelf, Elf Mates, Elf Pets, and a wide array of clothing and accessories. Stay updated on the latest news, including the ongoing 20th-anniversary celebration, and explore the expanding Santaverse with books, shows, and games!
Amazon Availability and Pricing
Amazon.com is a major retailer for The Elf on the Shelf products, offering convenient access and competitive pricing for families eager to embrace the Christmas tradition. Currently, “Elf on the Shelf: A Christmas Tradition” (featuring the blue-eyed boy elf) is readily available, identified by ISBN 0814854010197, and is shipped directly to your doorstep.
Pricing fluctuates based on demand and seller, but Amazon consistently provides options for both new and used copies. Customers benefit from Amazon’s reliable shipping, customer service, and often, Prime member advantages like free and expedited delivery.
Beyond the core Elf set, Amazon also stocks Elf Mates, Elf Pets, clothing, and accessories, frequently offering bundled deals and discounts. Regularly checking Amazon ensures you can secure the best possible price and complete your Elf on the Shelf collection in time for the holiday season!
Retailer Exclusives and Bundles
Numerous retailers offer exclusive Elf on the Shelf bundles and products, enhancing the magical experience for believing families. These often include special edition elves, unique accessories, or bundled sets combining the core Elf set with books or games. Keep an eye out for retailer-specific props and outfits, adding extra creativity to your Elf’s nightly adventures.
Exclusive bundles frequently provide cost savings compared to purchasing items individually, making them a popular choice during the holiday season. These limited-edition offerings create a sense of collectibility and excitement, appealing to dedicated Elf on the Shelf enthusiasts.
Checking major retailers’ websites and in-store displays is crucial to discover these exclusive deals. Don’t miss out on opportunities to expand your Elf’s world with unique items only available at select locations!
Elf on the Shelf Activities and Ideas
Unleash your creativity with playful Elf poses and scenarios! Explore printable activities, engaging games, and delightful puzzles to amplify the holiday spirit.
Creative Elf Poses and Scenarios
Ignite the Christmas magic with imaginative Elf adventures! Consider scenarios where your Scout Elf is playfully “caught” decorating with ornaments, building a miniature snowman from marshmallows, or even having a tiny tea party with other toys.
For a humorous touch, pose your Elf “fishing” for goldfish crackers in the pantry or creating a snow angel in a bowl of flour. Don’t forget the classic mischievous moments – perhaps the Elf has wrapped the toilet in streamers or left a tiny trail of glitter!
Remember to tailor the scenarios to your family’s interests and traditions. A little creativity goes a long way in making each Elf sighting a memorable and cherished experience, reinforcing the belief and wonder of the season. The possibilities are truly endless!
Elf on the Shelf Printable Activities
Enhance the Elf’s adventures with engaging printable resources! Many websites offer free downloadable coloring pages featuring the Scout Elves, perfect for quiet afternoon activities. Look for printable “Letter to Santa” templates, allowing children to write their Christmas wishes with the Elf’s encouragement.
Discover printable scavenger hunts where clues lead to the Elf’s hiding spot, adding an interactive element to the tradition. Craft printable Elf-sized games like “Pin the Hat on the Elf” or miniature board games for extra festive fun.
These readily available printables provide a convenient and affordable way to extend the Elf on the Shelf experience, fostering creativity and strengthening the magical connection to the North Pole. They’re a delightful addition to any believing family’s holiday season!
Elf on the Shelf Games and Puzzles
Bring extra sparkle to the season with Elf-themed games and puzzles! Families can enjoy printable word searches featuring Christmas vocabulary and Elf-related terms, providing a fun challenge for all ages. Look for “Spot the Difference” puzzles showcasing the Elf in various mischievous scenarios.
Create an Elf-themed memory matching game using printable cards, testing memory skills with adorable Elf illustrations. Consider a festive scavenger hunt with clues hidden around the house, leading to a small Elf-related prize.
These games and puzzles offer a delightful way to engage children with the Elf on the Shelf tradition, encouraging problem-solving skills and adding an element of playful excitement to the holiday season. They’re a perfect complement to the Elf’s daily adventures!

Expanding the Elf on the Shelf Universe
Explore beyond the tradition! Enjoy the Elf on the Shelf: Christmas Heroes Nintendo Switch game, captivating books, and the Scout Elf Squad preschool series.
The Elf on the Shelf: Christmas Heroes (Nintendo Switch Game)
Embark on a thrilling adventure with The Elf on the Shelf: Christmas Heroes for the Nintendo Switch! This engaging game allows players to join Santa’s Scout Elves on a mission to spread Christmas cheer and save the holiday from mischievous villains.
Players can customize their own Scout Elf and team up with friends and family for cooperative gameplay. Navigate through festive levels, complete challenging puzzles, and use unique elf abilities to overcome obstacles. The game captures the spirit of the beloved tradition, offering a fun and interactive experience for players of all ages.
Available at the official My Nintendo Store, Christmas Heroes extends the Elf on the Shelf universe beyond the traditional story and into the realm of digital entertainment, providing a new way to celebrate the magic of Christmas.
It’s a perfect addition for families already immersed in the Elf on the Shelf experience!
Elf on the Shelf Books and Stories
Delve deeper into the enchanting world of The Elf on the Shelf through a delightful collection of books and stories! Beginning with the original Elf on the Shelf: A Christmas Tradition, penned by Chanda A. Bell, these publications expand upon the lore and magic surrounding Santa’s Scout Elves.
Explore heartwarming tales that reveal the elves’ secret mission, their connection to Santa, and the importance of believing in the spirit of Christmas. These books are perfect for reading aloud as a family, fostering a sense of wonder and anticipation during the holiday season.
Celebrate 20 years of the tradition with commemorative editions and discover new stories that continue to captivate audiences. Amazon.com offers a wide selection of these beloved books, bringing the magic home!
They are a wonderful way to extend the Elf on the Shelf experience year-round.
The Scout Elf Squad Preschool Series
Introduce the youngest believers to the magic of the Scout Elves with the all-new Scout Elf Squad preschool series! This exciting extension of The Elf on the Shelf universe brings the beloved characters to life in a vibrant and engaging format designed specifically for little ones.
The series follows the adventures of a team of Scout Elves as they learn and grow, preparing for their important mission of reporting to Santa Claus. Each episode is filled with heartwarming stories, catchy songs, and valuable lessons about friendship, kindness, and the spirit of Christmas.
This series is a fantastic way to build excitement and anticipation for the holiday season, and to reinforce the importance of believing in the magic of Christmas. It’s a delightful addition to the Elf on the Shelf experience!
It’s a perfect way to share the joy with a new generation.
The 20th Anniversary Celebration
Celebrate two decades of magic! Enjoy anniversary-edition collectibles, the best Elf ideas, hot holiday tips, and a merry spotlight on Santa’s Scout Elves.
Anniversary Edition Collectibles
Mark 20 years of Christmas magic with exclusive collectibles! The Elf on the Shelf’s 20th Anniversary celebration brings a delightful range of commemorative items for devoted believers.
These special editions are designed to become treasured family heirlooms, capturing the spirit of the beloved tradition. Look for limited-edition Elf on the Shelf dolls, featuring unique outfits and packaging to commemorate this milestone.
Beyond the elves themselves, discover anniversary-themed ornaments, plush toys, and home décor items. These collectibles offer a beautiful way to extend the enchantment of the season and remember years of joyful Elf sightings. Don’t miss the opportunity to add these precious keepsakes to your collection!
New and Best Elf Ideas for 2026
Prepare for a season of unprecedented Elf magic in 2026! The Elf on the Shelf continues to inspire creativity with a fresh wave of ideas to delight children and families. Expect innovative scenarios pushing the boundaries of Elf mischief and heartwarming moments.
This year’s best ideas will leverage interactive elements, incorporating technology and personalized touches. Think Elf-themed scavenger hunts, miniature Elf-sized baking adventures, and playful interactions with family pets.
The focus will be on creating memorable experiences, fostering imagination, and strengthening the bond between families and their Scout Elf. Stay tuned for exclusive content, printable activities, and a community of Elf enthusiasts sharing their most brilliant ideas!
Hot Holiday Tips and Traditions
Maximize the magic of your Elf on the Shelf experience this holiday season! Embrace time-honored traditions alongside exciting new tips to create lasting memories. Remember, the Elf’s primary role is to observe and report to Santa, encouraging good behavior.
Establish a consistent “Elf landing spot” and a designated time for the Elf to return each night. Involve children in creating a cozy Elf-sized environment and writing letters to Santa with their Elf’s assistance.
Don’t forget to capture the Elf’s adventures with photos and videos, creating a cherished family album. Most importantly, embrace the joy and wonder of the season, letting the Elf on the Shelf spark imagination and festive cheer!